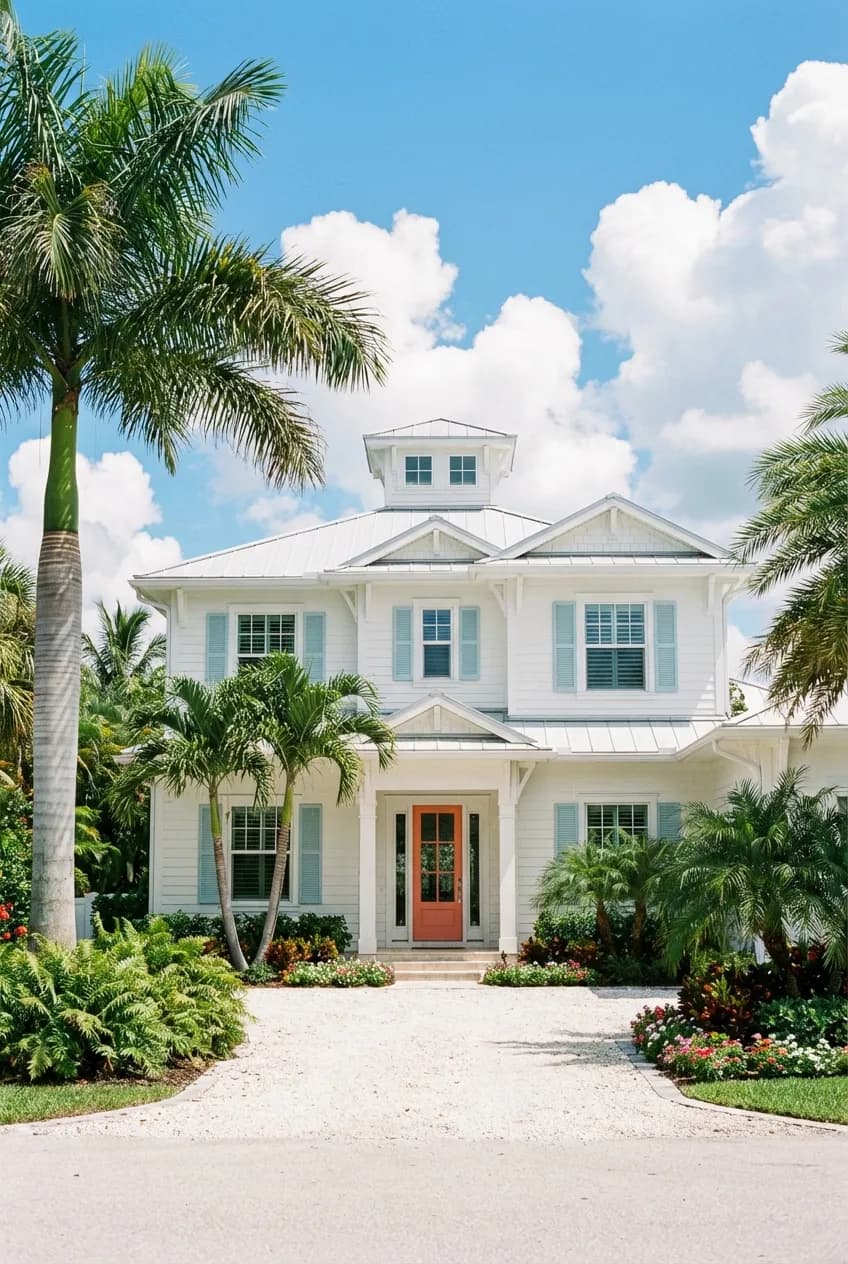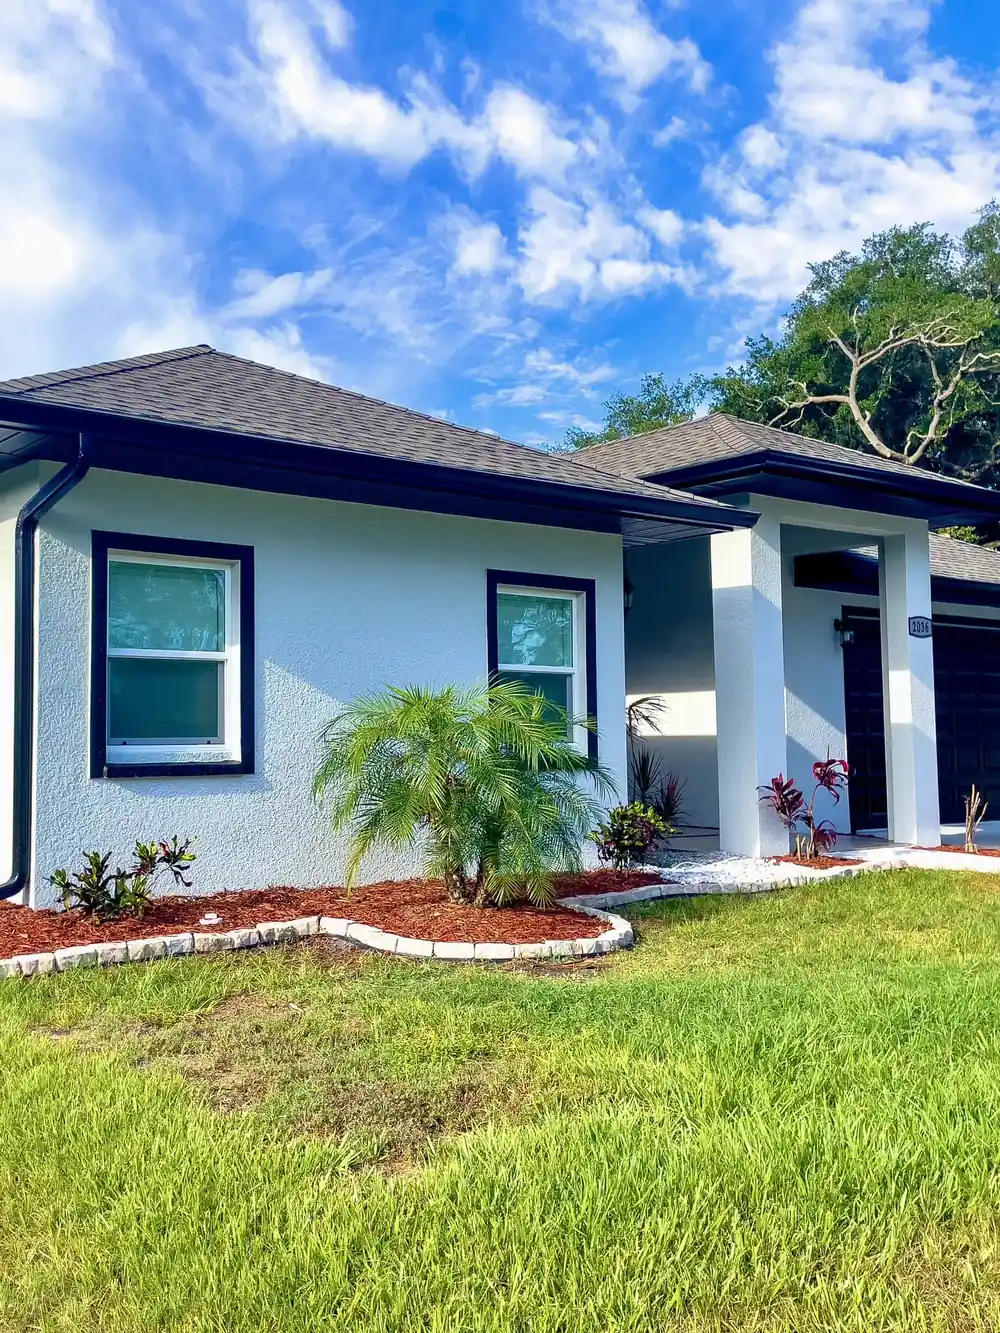
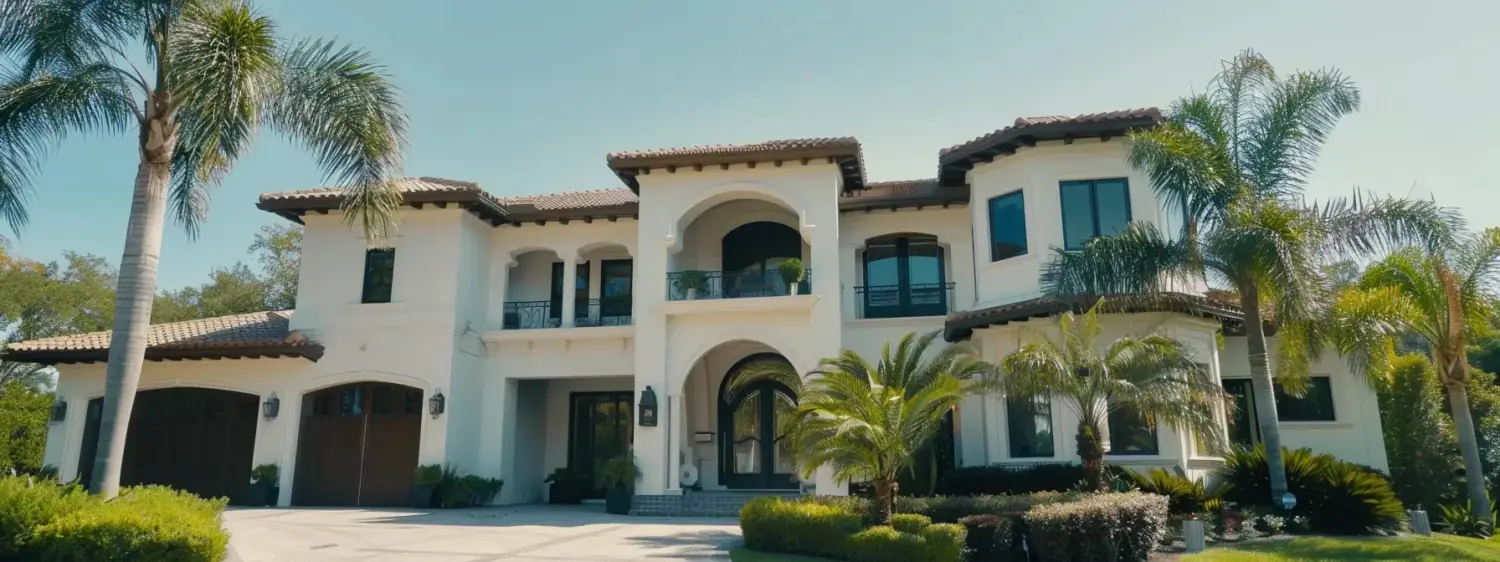

How often to paint house exterior in Florida depends on the surface, sun, moisture, preparation, and coating system. A practical starting point is 5 to 7 years for many properties, but the condition of your finish matters more than a date. A local Sarasota exterior painting assessment can tell you whether washing, corrective steps, or a full repaint makes sense.
Practical range: Use the calendar to schedule an inspection, not to force a project your home does not require. Paint can age at different rates across one house, especially where shade, weather, and salt air differ. Paint performance follows the condition beneath it.
- Start with condition: Check whether the finish is still firmly bonded.
- Look at trim, fascia, doors, shutters, and other exposed material.
- Compare sheltered areas with sections that receive more sun and rain.
- Note repairs that may need to happen before painting begins.
A yearly walkaround helps you catch a small change before it spreads. Paint around trim and joints may change first. You are looking for a pattern, not one isolated mark that may wash away.
- Check the finish: Look for chalking, fading, or loss of sheen.
- Check joints and seams for open or brittle caulk.
- Look near windows, doors, rooflines, and hose connections for moisture.
- Photograph the same areas so you can compare them later.
How long exterior paint can last
The bound report shows 5 to 7 years as a common Florida planning range for exterior paint. That is not a promise for each property. Substrate, prior prep, repair scope, color, weather, and application all affect when repainting becomes necessary.
- Sun exposure: More exposed sections may show wear before shaded sections.
- Humidity can keep damp areas from drying as quickly.
- Salt air can add another stress near the coast.
- Storms can reveal cracks, failed joints, or loose material.
The existing paint system matters too. Paint applied over a sound, prepared surface has a better starting point than a finish placed over dirt, chalk, or unresolved damage.
- Preparation: Cleaning and repairs come before a new finish.
- Primer use depends on the substrate and the approved scope.
- The topcoat must be compatible with the prepared material beneath it.
- Application conditions matter when the new film cures.
What changes the repaint schedule
Exposure and condition
Your house does not face equal exposure on all sides. Paint on one elevation may wear before another. Walk the property by area and record what you see. This makes the estimate more useful than relying on age alone.
- Upper sections: Check fascia, soffits, and roofline transitions.
- Lower sections may show splashback, dirt, and irrigation contact.
- Open elevations may receive more sun, rain, and wind.
- Covered lanais and entries may remain sheltered for longer.
Substrate also changes the plan. Stucco, wood, fiber cement, metal, and previously painted masonry do not fail in the same way, so surface preparation should follow what is actually present. Old paint must be tested before the next system is chosen.
Start with the substrate
Before you choose a date, identify loose paint, damaged caulk, stains, bare spots, and repairs. Sound paint may remain while failed material is prepared. Repainting over an unresolved source of moisture can hide the issue without solving it.
- Stucco: Note hairline cracks, patches, chalking, and hollow-looking damage.
- Wood should be checked for peeling, open joints, and soft sections.
- Fiber cement needs sound seams, edges, and compatible prior material.
- Metal details should be checked for exposed areas or corrosion.
Watch the most exposed areas
The first visible change may appear on trim or another minor detail rather than across an entire wall. Paint on those details can wear before the field. That does not always call for a full project, but it does call for a closer look.
- Trim: Inspect fascia, door surrounds, and window details.
- Check horizontal ledges where water or debris can sit.
- Review repaired areas for movement or renewed cracking.
- Compare color and sheen under eaves with open elevations.
Stucco and masonry
Stucco needs a stable, clean base before a new system is applied. Grove Street Painting can include crack routing, elastomeric patching, and color-matched finish coats when those items are part of the approved scope.
- Map the cracks: Record their location before repair begins.
- Separate surface marks from openings that need closer review.
- Remove loose material instead of covering it.
- Match the repair and finish plan to the existing texture.
Wood and trim
Wood movement and open joints can let water reach vulnerable substrate. Check those details early, then address damaged sections before the next coat of paint.
- Probe concerns: Soft or bare wood needs evaluation before coating.
- Replace failed caulk where joints have opened.
- Remove loose finish and prepare sound edges.
- Prime repaired or bare material when the approved system requires it.
Signs it is time to repaint
Do not wait for total failure: Chalking, fading, peeling, bubbling, mildew, and cracks are reasons to inspect the finish. Paint that loses adhesion needs a closer look. One sign may call for washing or a repair. Several signs across the property may point toward full repainting.
- Chalking: A powdery residue can show that the film is wearing.
- Fading may be easier to see beside a sheltered section.
- Peeling or bubbling shows that adhesion has failed in that area.
- Open cracks or failed caulk can admit moisture behind the finish.
Early wear
Early wear gives you time to document the condition and plan. Paint may appear different after cleaning and wet weather, so compare the same areas without confusing debris with a continuing issue.
- Compare sections: Use sheltered paint as a visual reference.
- Check whether mildew returns after appropriate cleaning.
- Watch whether a small crack or peel continues to spread.
Fading alone may be a color concern, while chalking or adhesion loss can be a protection concern. The right response depends on what is happening beneath the visible finish.
Damage that should not wait
Bare substrate, active peeling, repeated blisters, or openings that let water in deserve prompt review. Fix the cause before applying another coat, or the same issue can return.
- Open material: Protect bare substrate from continued exposure.
- Trace water entry before closing and painting the area.
- Repair failed joints, damaged sections, and unstable edges.
Moisture damage may require work beyond painting. An exterior estimate should identify the visible condition and define which repairs are included before the price is set.
How Grove Street plans the work
If you are also planning outdoor finishes, compare Sarasota deck stain colors and review limewash methods. Those guides help separate a standard repaint from a different finish system.
Desmond Landry personally walks the property before Grove Street Painting quotes the project. Every exterior repaint starts with a power wash included in the written price. Soft washing is offered separately as maintenance between repaints.
- Inspect the existing finish, substrate, repairs, and access.
- Define preparation, products, colors, and the written scope.
- Complete the wash, repairs, prep, and application in order.
- Perform the final walkthrough before final payment.
Grove Street Painting uses Sherwin-Williams Duration Exterior as its standard, with Benjamin Moore Aura Exterior available as an upgrade. The written workmanship warranty is 5 or 10 years by coating system, and the applicable term is documented in the proposal and closeout packet.
Grove Street's approach: Your written proposal carries the Fixed-Price Promise, daily cleanup keeps the work area reset, and background-checked crews train on PCA surface preparation standards. The price you get is the price you pay.
If your Sarasota home shows spreading deterioration or you want a condition-based plan, request a Free Quote. You will get a defined scope and locked-in price before work begins.
See Paint Colors on Your Actual Walls
Stop guessing which colors will look best. Upload a photo of your room and preview 80+ premium paint colors instantly - it's free and takes 30 seconds.
Frequently Asked Questions
A common planning range is 5 to 7 years, but the finish may need attention sooner. Check the condition of the paint, substrate, caulk, and exposed areas before choosing a repaint date.
Many Florida guides use 5 to 7 years as a starting range for stucco. Actual timing depends on preparation, sun, moisture, prior restoration, and the coating system already on the substrate.
Look for chalking, fading, peeling, blistering, open cracks, failed caulk, mildew, or bare material. Those conditions can show that the finish is no longer giving the substrate consistent protection.
Sun is one factor in exterior aging, along with humidity, salt air, moisture, finish condition, and prep. Inspect exposed elevations instead of assuming the whole house will age at the same rate.
Published Florida guidance in the bound report gives a broad 3 to 7 year range for wood siding. Check for open joints, peeling, soft sections, and failed caulk because condition matters more than the calendar alone.
Grove Street Painting uses Sherwin-Williams Duration Exterior as its standard system, with Benjamin Moore Aura Exterior available as an upgrade and elastomeric masonry primers used where the approved scope calls for them.