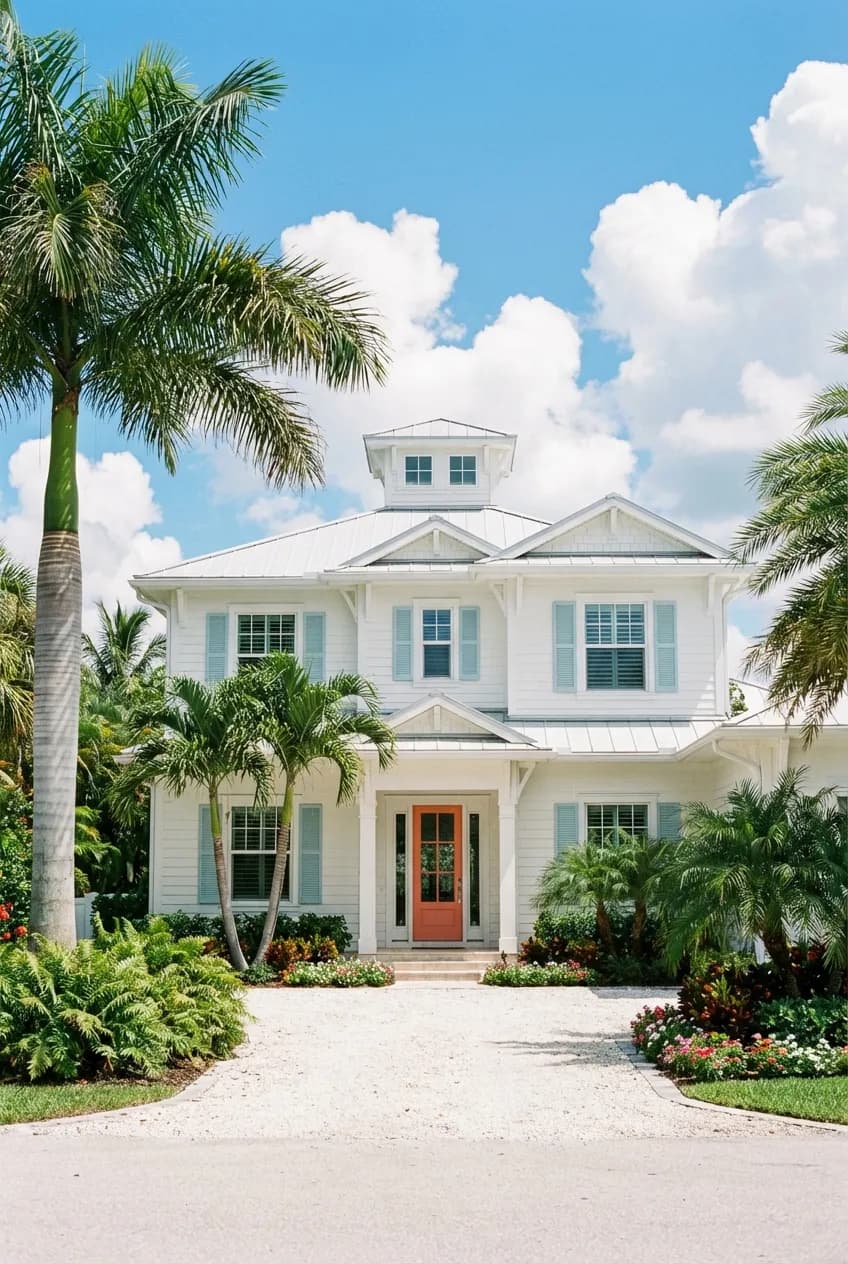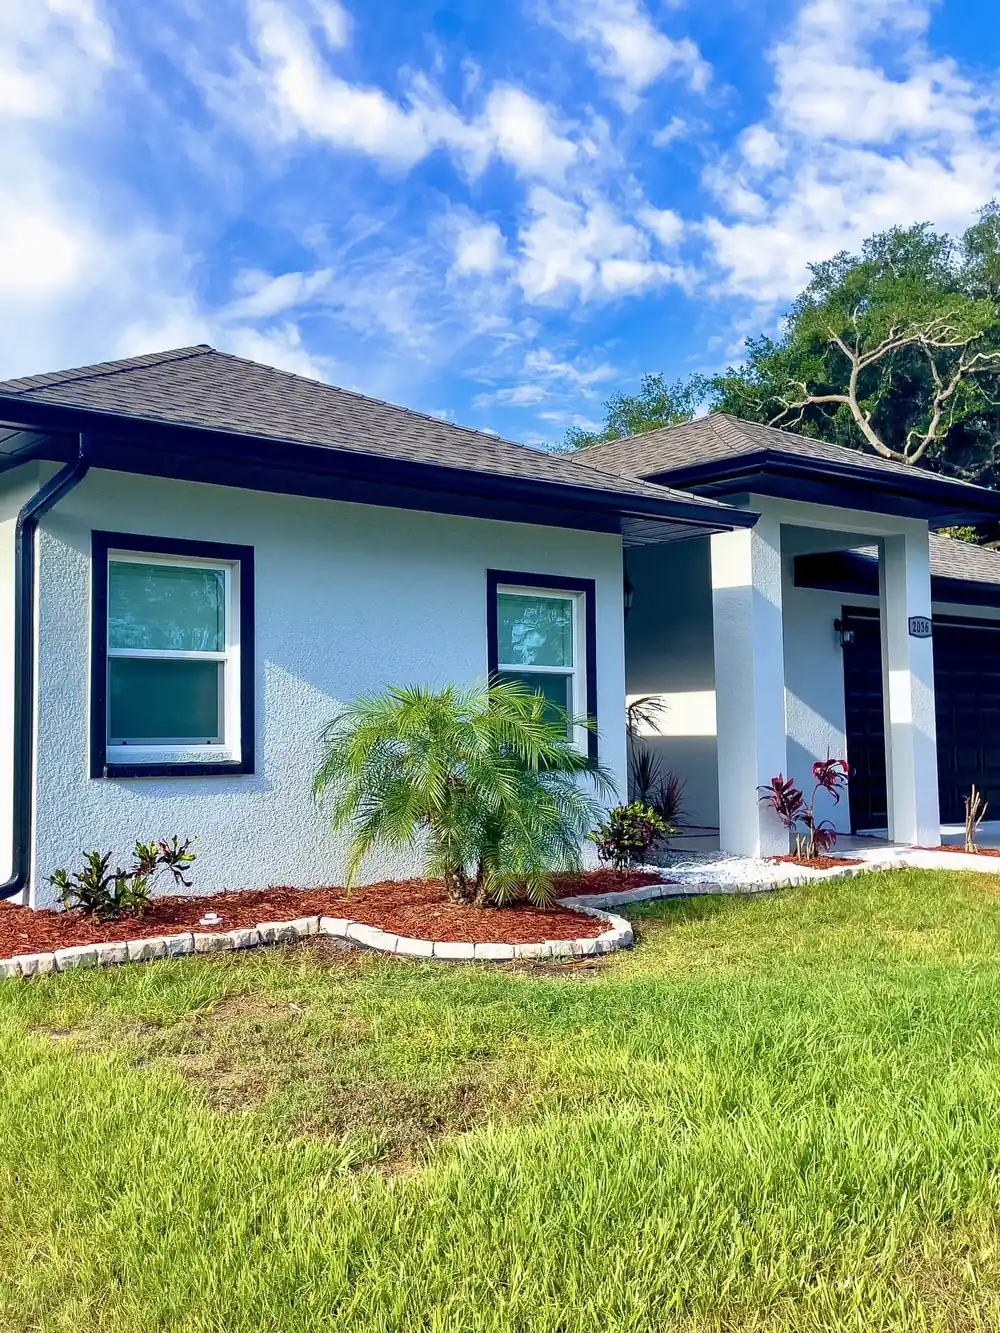

Sage green living room paint may feel calm in a Florida home, but the fan-deck chip is not the final answer.
Your wall surface, windows, flooring, furniture, and lamps all join the decision. Start with this guide, then review your plan with our Sarasota interior painting team.
The safest path is simple: compare a small group of green paint choices on full-size sample boards in your actual light.
Grove Street Painting offers those boards so you may judge the color where you will see it every day, not under store lighting.
You do not need a catalog of nearly identical choices.
You need a clear way to narrow the options, compare the green paint finalists, and connect the winning shade to a written painting scope.
Begin with two or three color candidates. Move each board around the sitting area. Check it beside fixed finishes, and keep your notes short and specific.
Start with your Florida home, not the fan deck
A printed chip gives you a starting point. A large green board gives you a more useful decision surface.
Place it near the sofa, beside the trim, and across from the largest window before you decide.
Do not hold the board in your hand for a few seconds and call the choice settled.
Leave it in place long enough to notice how the green relates to the materials that will remain after the painters leave.
Read the green in three moments
Your goal is not to make the green board stay identical all day.
Your goal is to like its range as daylight and lamps change around it.
- Check it when the area first receives daylight.
- Look again during the brightest part of your day.
- Review it after your usual lamps are on.
Morning check
Stand where you normally enter the space. Ask whether the board feels clear beside the floor and upholstery.
If it seems too gray, too yellow, or too cool for your taste, write that down rather than trying to talk yourself into it.
Midday check
Move the board to the brightest wall. This is the useful stress test.
Compare the color to the woodwork and ceiling, then step back to the main seating position.
Evening decision
Turn on the lamps you actually use. A showroom display cannot reproduce this setting.
Your own lighting tells you whether the finalist belongs with your furniture and daily routine.
- View every finalist under the same lamps.
- Remove any choice you only like at one time.
- Keep the option that remains comfortable to you.
Keep the sample decision simple
A good comparison needs consistent conditions.
Use the same board size, place the boards on the same surfaces, and judge them from the same distance.
Number the finalists instead of ranking them too early.
That small step keeps one appealing name from winning before you have looked at the actual color.
- Set the finalists side by side.
- Remove the weakest choice after the first full day.
- Move the remaining boards to a second wall.
- Make the final choice beside your fixed finishes.
- Compare no more than three finalists at once.
- Write one strength and one concern for each.
- Ask every decision-maker to review the same boards.
Build a short sage green list
Green paint displays may present a very long range. A short set is easier to judge.
Start with the depth and temperature you prefer, then select named colors for real-world sampling.
If your shortlist includes October Mist, Clary Sage, or Evergreen Fog, treat each green name as a label, not a promise.
Put the actual product and sheen on a full-size board before you approve it.
Compare undertones, not names
Set each candidate beside the floor, stone, wood, and fabric that will stay.
You are looking for a green that cooperates with those fixed elements instead of making one of them seem out of place.
- Place the board beside flooring and baseboards.
- Compare it with the largest upholstered piece.
- Check it near stone, tile, or built-ins.
A warm material may pull one side of a shade forward. A cool material may pull another. You do not have to label every undertone correctly. You only have to notice which combination you prefer in your own home.
Review the actual coating
The paint product and sheen are part of the board. Grove Street Painting uses Sherwin-Williams Duration as its standard interior coating, with Emerald and Benjamin Moore Aura available as upgrades.
That choice also sets the written workmanship coverage. SuperPaint carries 5 years. Duration and Emerald carry 10 years. Your proposal should name the coating system rather than give you a broad warranty statement with no product attached.
- Confirm the product before final sampling.
- Confirm the sheen beside the color name.
- Keep the approved board until the work begins.
Select paint sheen for daily life
The paint sheen decision belongs beside the color decision. Think about how the area serves your household, how often the walls need wiping, and how much surface repair is included in the scope.
Grove Street Painting offers interior options that include matte, satin, and semi-gloss finishes within the available product lines. The proposal should identify the finish for each surface so walls, trim, and doors do not become a jobsite guess.
Match the finish to the surface
For main walls, compare the appearance of your chosen shade in the proposed finish. A board in one finish is not a useful approval for a different finish.
For woodwork and doors, decide whether you want a clear contrast or a quieter transition. Review that choice beside the wall board rather than from two separate chips.
- Note where hands, pets, or furniture touch the surface.
- Point out patches, dents, and texture changes.
- Ask how the chosen finish fits the repair plan.
For the ceiling, decide whether it stays separate from the wall color plan. If you are considering one color across several surfaces, have every surface and sheen written into the scope.
- List walls, ceiling, trim, and doors separately.
- Approve one color and finish for each line.
- Keep the list with the final proposal.
Pair green with what you already own
A successful green plan begins with what is staying. Flooring, stone, large furniture, window treatments, and built-ins deserve more weight than a small accessory that may be replaced later.
Take one clear photo of each fixed element, then compare those items with the green boards in person. The photo is a reminder, not a substitute for viewing the materials together.
Let fixed finishes lead
Warm wood and leather may sit comfortably beside many muted greens. Judge the exact pairing in place, especially when the floor and furniture carry different brown tones.
White and cream finishes need the same side-by-side check. A wall choice may cause one white to seem warmer or cooler, so include molding, cabinets, and large fabrics in the review.
- Start with flooring and built-ins.
- Add the largest furniture pieces next.
- Finish with art, pillows, and smaller decor.
If you are planning more than one area, review how sage green bedrooms handle a quieter private space. For an adjoining cooking area, compare ideas for green kitchen walls before you lock a connected palette.
- Repeat one material across connected areas.
- Avoid choosing adjacent colors in isolation.
- Carry the sample boards through each doorway.
Decide between one wall and a full room
An accent surface is not automatically timid, and wrapping all four sides is not automatically more polished. The better choice follows the architecture and the amount of green you want to see from nearby areas.
A single feature works when there is a clear stopping point, such as a fireplace plane or built-in section. Painting the full enclosure fits when you want the color to become the background rather than a focal moment.
Let the architecture set the boundary
Stand in the adjoining areas and look back. If one surface has a clean edge and a reason to stand apart, an accent may fit. If the breaks seem arbitrary, a complete enclosure may read more coherently.
- Identify the natural start and stop points.
- Check the view from every connected doorway.
- Decide where the next wall color begins.
Open layouts need a written transition plan. Name the stopping edge, the adjacent color, and the treatment for finishwork or millwork before production starts.
| Approach | Use it when | Confirm before approval |
|---|---|---|
| One feature | One plane has a clear boundary | Edge, adjacent shade, and trim |
| Full enclosure | The area has defined limits | All walls, ceiling, and openings |
| Connected palette | Several areas share sightlines | Transitions at every doorway |
- Mark each transition during the walkthrough.
- Put every surface on the proposal.
- Review the plan from the main entry view.
Prepare the surface before color day
The chosen shade cannot hide an incomplete scope. Point out old patches, nail holes, texture differences, and drywall damage during the walkthrough so the written price reflects the work you expect.
Grove Street Painting's interior paint work includes walls, ceilings, finishwork, millwork, feature surfaces, and drywall repair. Crews also use HEPA sanding on every surface and train on PCA preparation standards.
Ask what the proposal includes
A useful proposal separates preparation from coating. It should tell you which surfaces are being repaired, what is being painted, which paint product will be applied, and which finish belongs on each surface.
- List visible repairs by location.
- Confirm sanding, priming, and coating steps.
- Name excluded surfaces before work begins.
Daily cleanup is part of Grove Street Painting's Home Protection Ritual. Furniture is reset, floors are vacuumed, and rooms are reopened before the crew leaves each day.
Confirm access and furniture plans. Set a daily check-in point, and include pets and household routines in the plan.
Plan the project with Grove Street Painting
A paint color consultation becomes more useful when it ends with clear decisions. Keep the approved board, color name, product, sheen, and surface schedule together.
Desmond Landry personally walks every property before quoting. That visit is the time to review the boards, identify repairs, mark transitions, and confirm that the written scope matches the result you want.
Your written scope
The estimate price is the final price. If Grove Street Painting misses something after work begins, you do not pay for that mistake. The proposal uses line-item costs and shows what is included before scheduling.
- Approved color and sample board
- Product and sheen by surface
- Preparation and repair locations
- Written coating-system warranty
Interior estimates have a 48-hour turnaround. When you receive yours, compare it with your notes and ask about any surface that is not named.
FAQ
Does sage work in a bright Florida home?
It may, but approve the green choice in the setting where it will be applied. Review full-size boards in your actual light, beside your flooring, trim, and largest furniture pieces.
Should I choose one green wall or paint the full space?
Choose the option that follows the architecture. One feature needs a clear stopping edge. A full treatment needs a complete surface list and a plan for every opening into an adjoining area.
Which interior coating does Grove Street Painting use?
Sherwin-Williams Duration is the standard interior product. Emerald and Benjamin Moore Aura are available as premium upgrades. Your proposal should name the selected product, finish, surfaces, and written warranty term.
What happens before I receive a price?
Desmond completes an on-site walkthrough before quoting. You review colors, repairs, surfaces, and transitions together, then receive a written proposal with line-item costs and fixed pricing.
The green should suit the home you already have and the way you already live. A disciplined sample process makes that decision easier, while a precise scope protects it once painting begins.
Ready to turn the approved board into a written plan? Get your locked-in price.
See Paint Colors on Your Actual Walls
Stop guessing which colors will look best. Upload a photo of your room and preview 80+ premium paint colors instantly - it's free and takes 30 seconds.